DIY Chinese New Year Paper Peonies + Lucky Almond Cookies
When it comes to heralding in a new year, the Chinese know how to do it right. From February 8th to March 2nd, there are a total of 3 festivals in addition to the New Year celebration on February 16th. Traditions and activities abound, centering around wishing each other the best of luck, success, and a prosperous year ahead. Recognition of the zodiac is widespread.
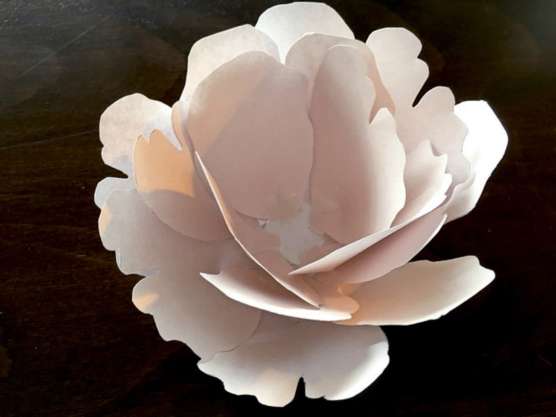
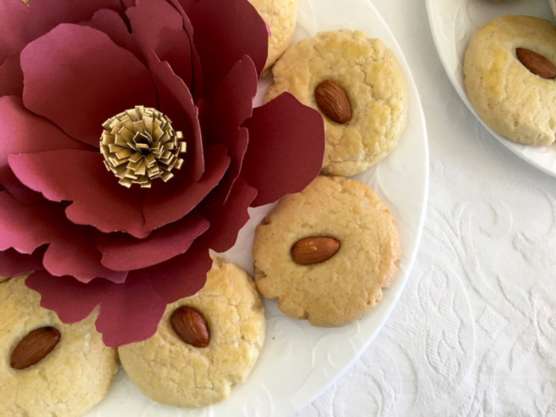
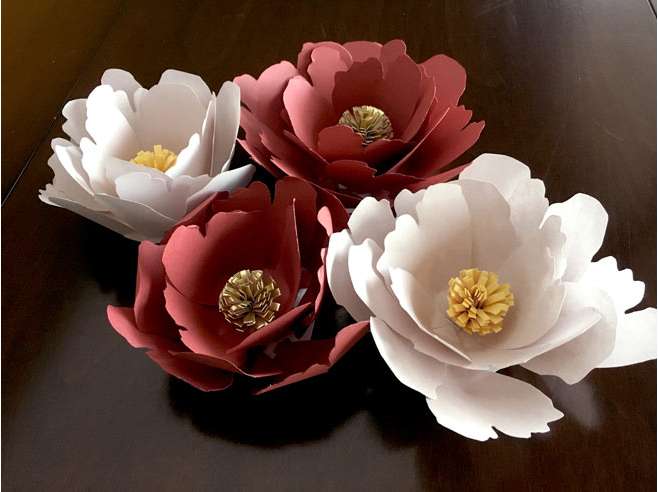
This year, the Year of the Dog, we’d like to bring you a taste of the prosperity and celebration happening worldwide on February 16th – the official Chinese New Year – by walking you through how to make these gorgeous paper peonies and encouraging you to make these too-easy Almond Cookies. Take a plate to a friend or neighbor to wish them a prosperous Chinese New Year!
DIY Prosperous Paper Peonies
Peonies, in Chinese culture, are a symbol for spring, beauty, richness, prosperity, honor, and high social class. They are usually found sprinkled everywhere throughout the New Year’s many celebrations, and are gifted to one another to wish everything they stand for upon their recipient.
Supplies needed:
Cardstock in multiple colors (double-sided works best)
Tape
Scissors
Pencil
Our Downloadable Peony Petals Template
Directions:
1. Download and print our Peony Petals template, then cut out each petal and the peony bases. It may be easier in the long run if you print the template out on a piece of cardstock for sturdiness.
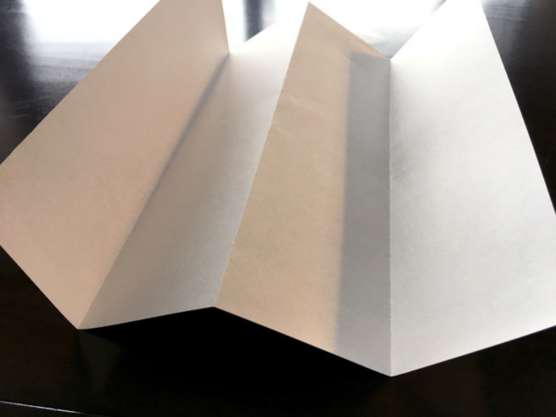
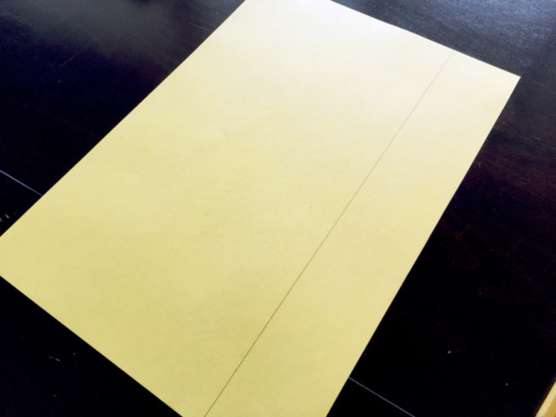
2. Take a piece of cardstock the color you want your peony petals to be and fold it into 4 sections, as shown. We’ve included 3 different peony flower sizes in our template, so choose the size you’d like to make first. Using your pencil, trace the peony petal shapes onto the cardstock, two times per petal shape.
3. Cut the petal shapes out. You should have 4 petals for every petal shape you traced and cut. The more petals you have per peony flower, the denser, more lush, or larger your finished peony flower will be. The 16 petals you just cut out will be sufficient for the large peony on our template, but feel free to cut more if you want a fuller look.
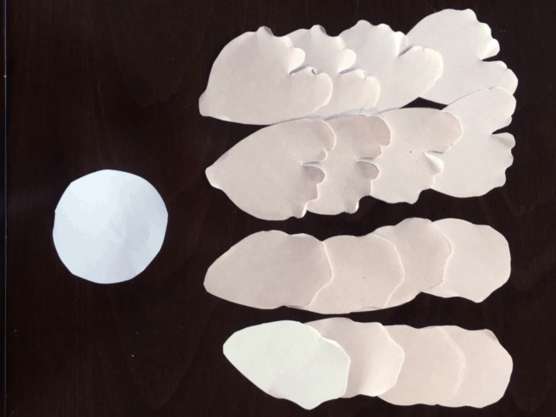
4. Trace and cut your flower base out. Use the same colored cardstock as your petals for the best look, however, white paper will work too.
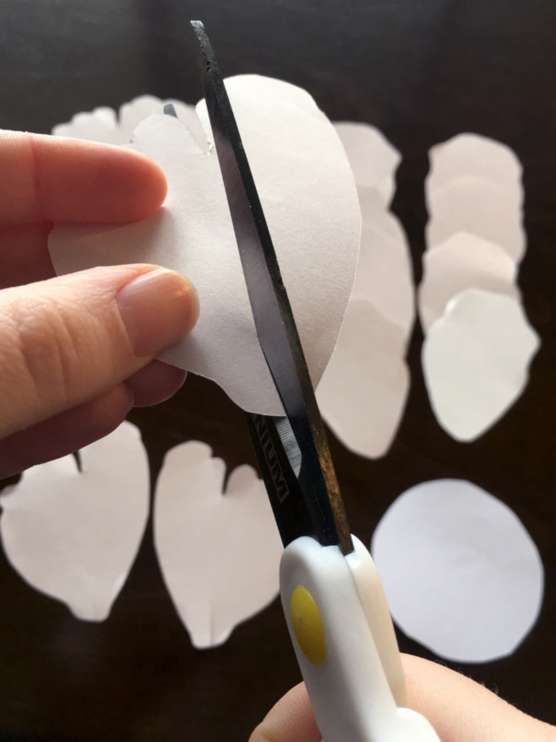
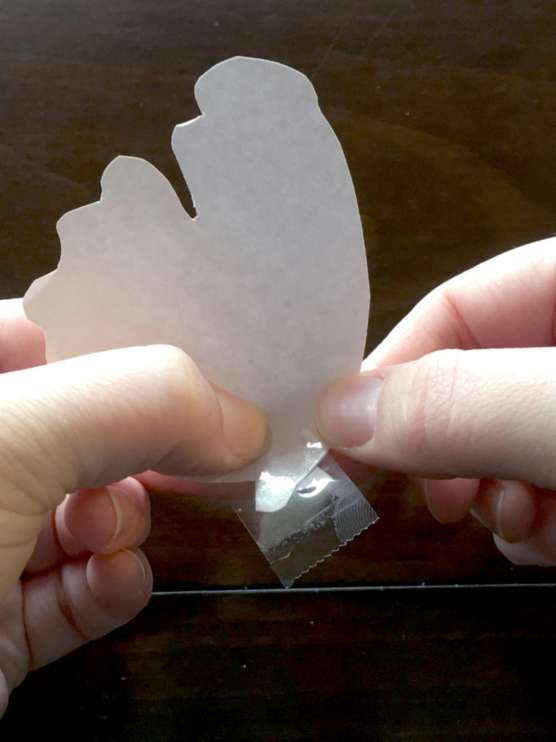
5. Cut a slit about ½” long in the base of each peony petal, as shown below. Once that’s finished, you’re ready to assemble your flower.
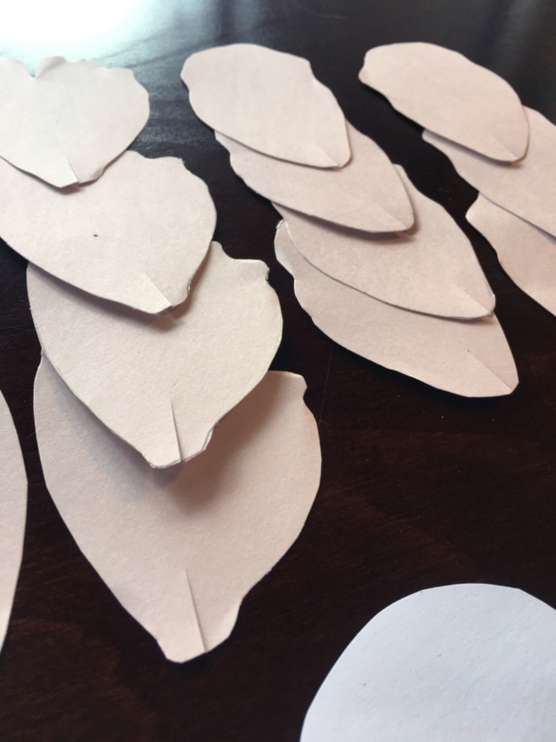
6. When you cut the slit in the petals, you created two “flaps”. Take those flaps and cross them, finishing them with a small piece of tape. This will cause the petal to stand up 3D instead of laying flat.
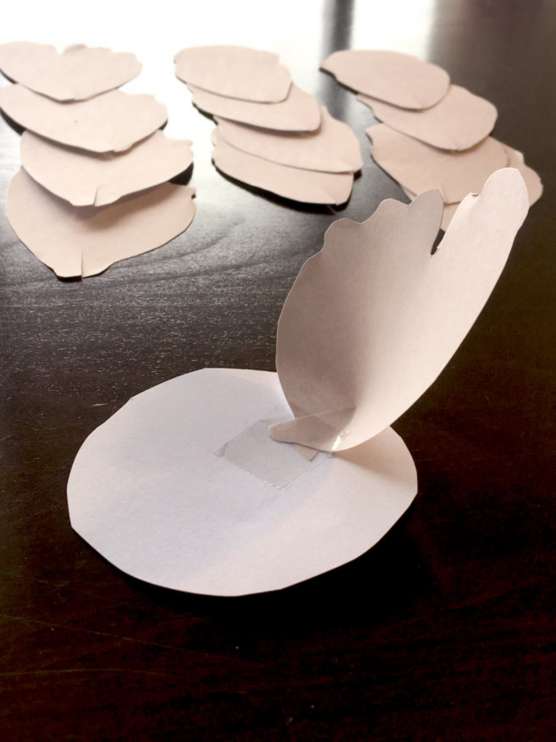
For your first layer, tape each petal to the flower base as shown. (The type of petal shape you use doesn’t matter too much in regards to placement; just make sure you use each shape up evenly in each ring of petals.)
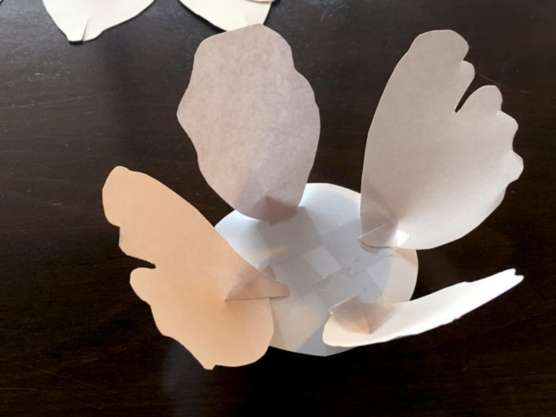
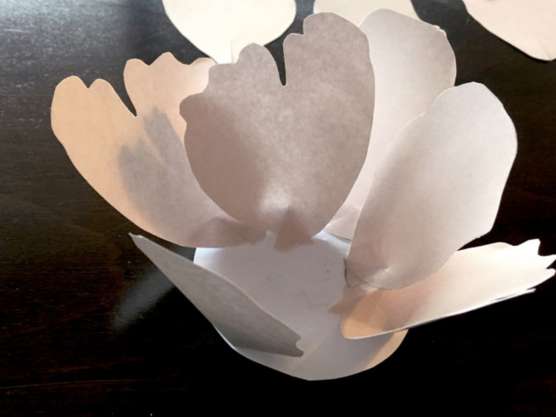
7. Start your second layer of petals by taping new petals in between the first layer’s petals, as pictured. Continue layering and alternating petal shapes like this until you use all your petals up, and have only a small area of your flower base showing in the center of your flower. Then, set your flower aside.
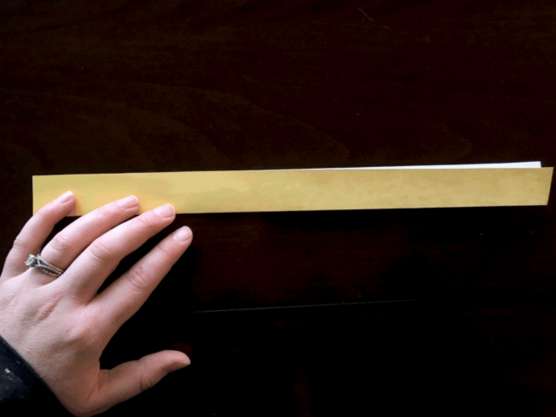
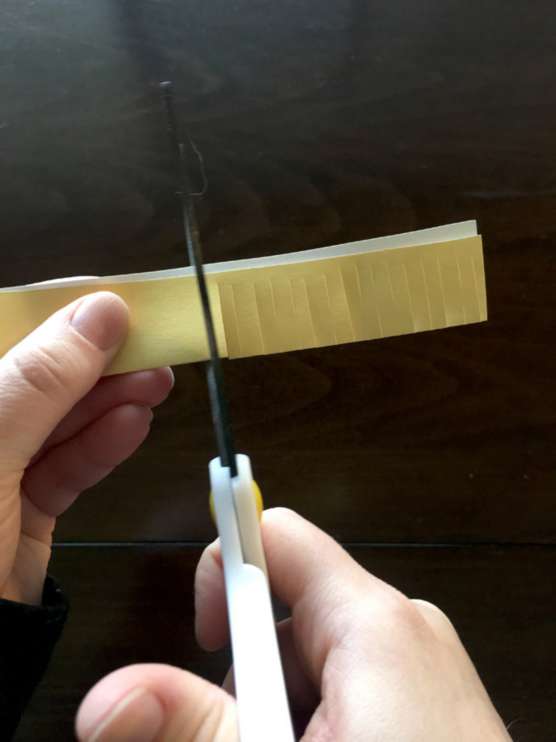
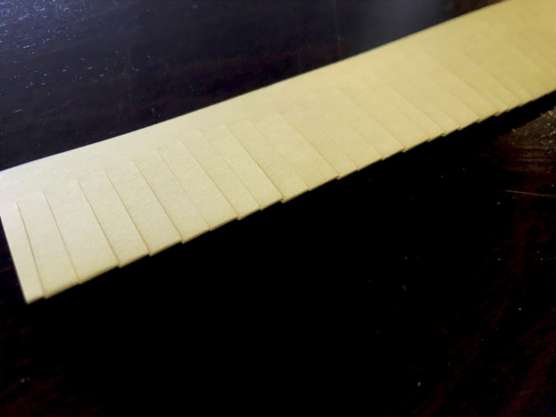
8. Use a straight edge and your pencil to trace a strip of cardstock about 2”-3” wide. This will be used to create your flower center, so choose a color you like. Fold this strip in half length-wise, then using your scissors, cautiously fringe the entire strip. If you cut the strip too far and end up lopping off a section, no worries! It can be taped on again later and no one will be the wiser.
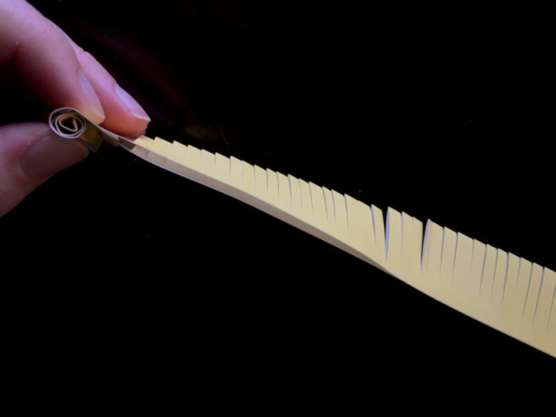
9. Begin rolling your fringed strip up; you’ll see the center start to form quite quickly. (This is the part where all you need to do to fix your chopped fringe strip is tape it to itself and continue rolling!) Use a small piece of tape to secure the end, that way it doesn’t unroll.
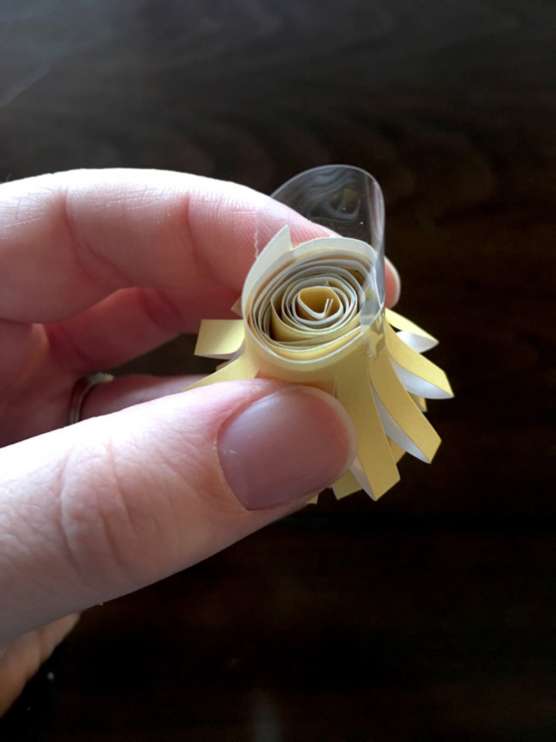
10. Take a small piece of scrap paper and roll it into a small ball. Press that into the rolled end of your flower stamen, and fold your piece of tape over it to keep it in place. Use another piece of tape to secure it. This little ball will cause your flower center to round out instead of remain flat on top.
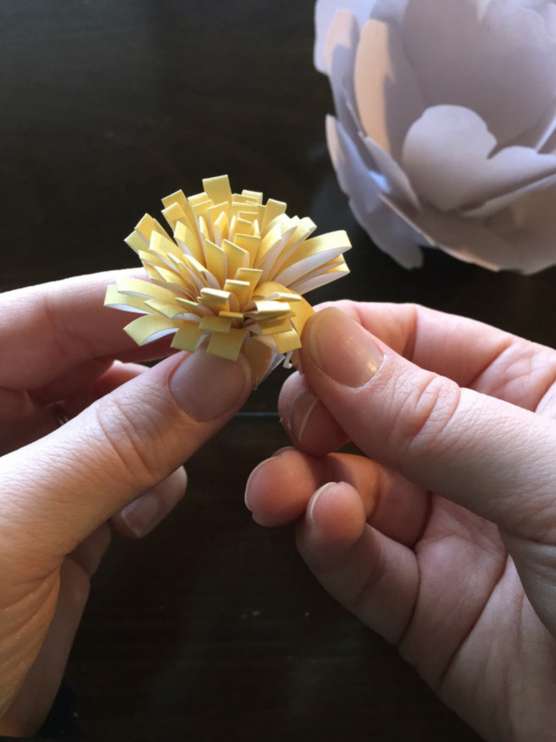
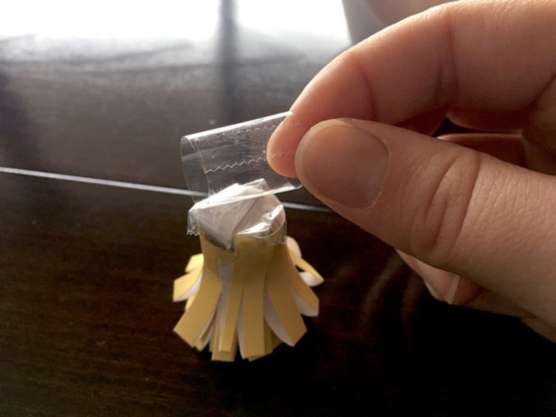
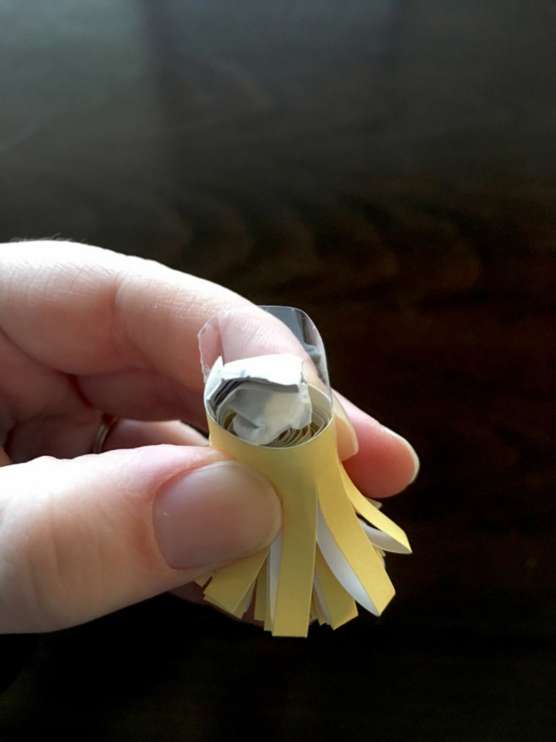
11. Flip your flower stamen over and gently ‘fluff’ it by bending each stamen strip backwards. Then, roll a piece of tape up (as shown) and place it on the bottom of your flower stamen, using that to secure it to the center of your finished flower.
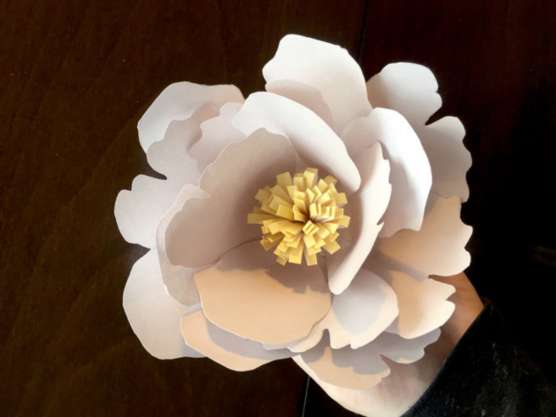
Repeat this entire process as many times as you like, creating different-colored peonies of all different sizes! They make gorgeous plate centerpieces, or simply beautiful party décor!
Download Peony Petals Template
Lucky Almond Cookies
Almond Cookies are easy to make, and have a straightforward meaning to them as well. Simply put, they mean, “Good luck!”
This recipe makes approximately 35-40 cookies – the perfect amount for sharing. Half the recipe, double it – it’s flexible and easy!
Ingredients:
1 C. Butter, room temperature
1 C. Granulated Sugar
2 Eggs, beaten in a small bowl
1 1/4 tsp. Almond Extract
3 C. Flour
1 tsp. Baking Soda
1/4 tsp salt
Whole Almonds
Directions:
1. Preheat your oven to 325° and prepare a baking sheet with parchment paper or a Silpat liner.
2. In a large bowl, cream the butter and the sugar together until smooth. Add the egg, being sure to leave about 1 Tbsp. of egg remaining in your small bowl. Beat 1 Tbsp. of water into the remaining egg and set it aside. Beat the egg into the butter mixture, then add the almond extract and mix together.
3. In a separate bowl, mix the flour, baking soda, and salt together. Add this to the butter and sugar mixture and mix until all ingredients come together. It will be a thicker dough, so keep mixing until you have large ‘balls’ of dough forming.
4. Use a cookie scoop or large spoon to scoop out 1-2 Tbsp. of cookie dough and use your palms to roll this into a ball. Place the balls at least 2” apart from each other on your cookie sheet, then, using the bottom of a drinking glass, press each ball into a cookie-sized circle about ½” thick.
5. Press an almond into the center of each cookie, then brush the tops of the cookies with the remaining egg/water mixture. Bake the cookies for 14-16 minutes, or until the cookies are lightly browned. Allow to cool a few minutes on the pan, then remove to a cooling rack.


Happy Chinese New Year, friends! Will you be celebrating somehow this year?